Set up Picking
The preparation module settings enable you to identify the different items you wish to include in your preparation lists. You will find the information you need to create the configurable fields that you associate with the items. These are additional items of information linked to the items in your preparation list. Finally, you will configure the items that will make up your preparation lists.
Item management
Create a new article
Your items are the different elements that make up a preparation list. You can create a new item manually or import it via an XLS file.
To import your items, go to Bulk import of objects
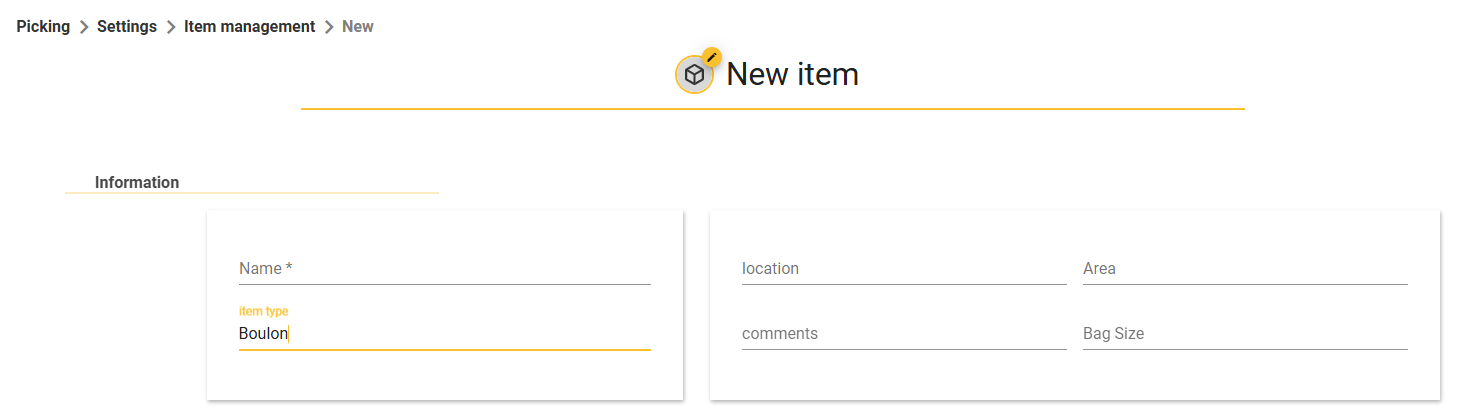
To create an item manually, click on at the bottom right of the page.
Define the name of this new item and the type to which it belongs, and fill in the configurable fields associated with the item type.
Then confirm at the bottom right.
Modify an item
To modify an item, click on your item in the list of items and click at the bottom right of your screen.
All fields can be modified, and you can also delete the item using the red bin.
Linking an item to a display tag
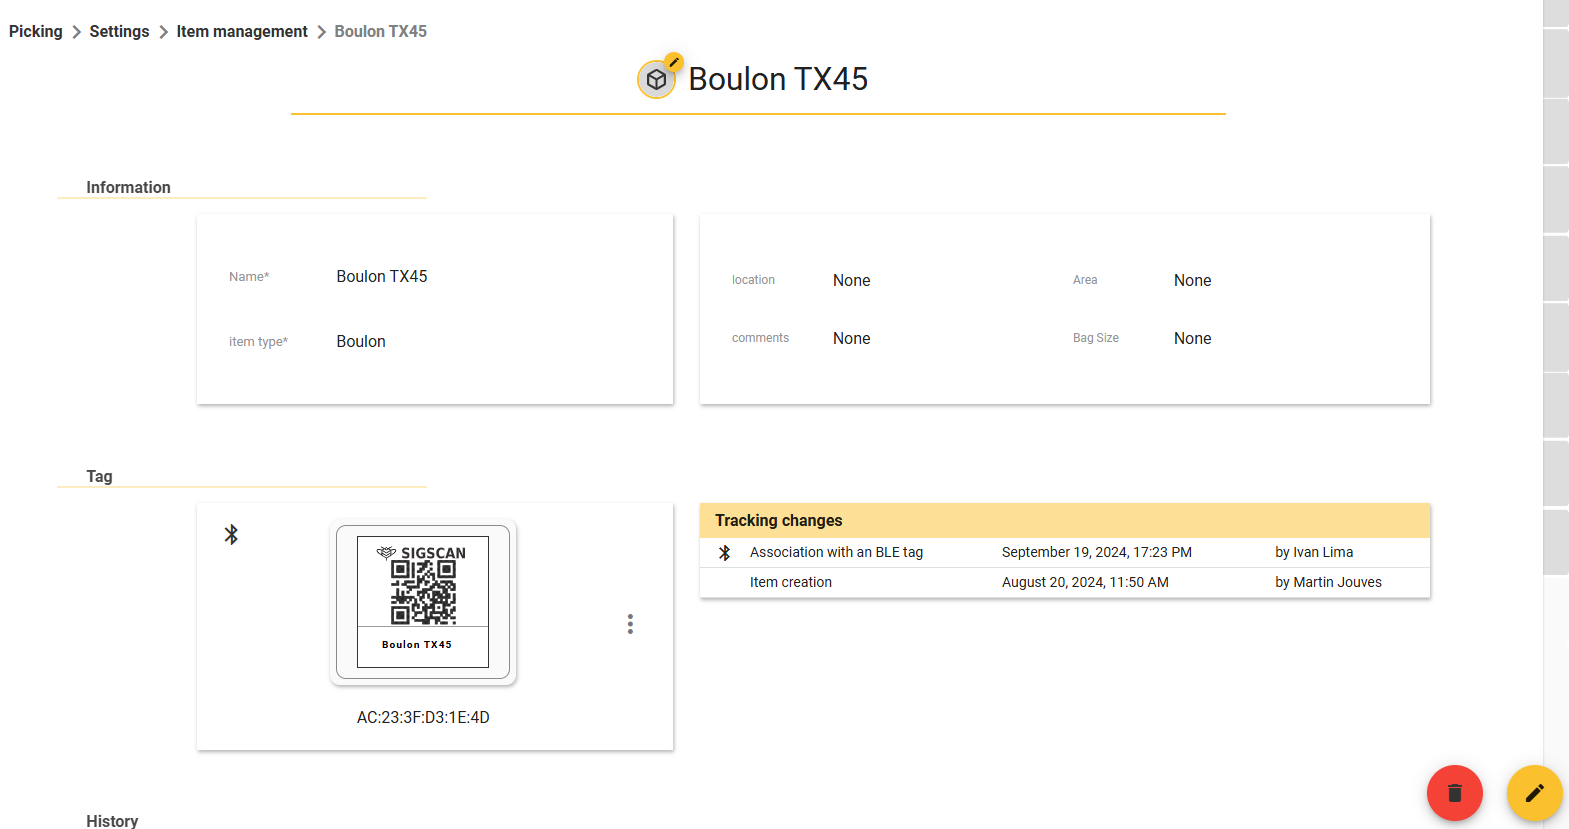
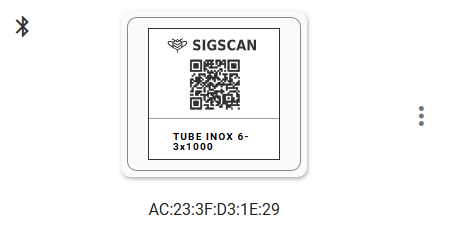
To make preparations easier for your teams in the field, associate a display tag with an item in SIGSCAN (and in the field).
To associate a tag with an item, go to the item details in the tag section, click on the 3 dots and click on ‘associate’. Enter the name of the tag you wish to associate (by default, the tag name is the MAC address on the tag).
Once associated and in place in the field near a programming terminal, the display tags will be reprogrammed to display your Template (configured by SIGSCAN).
Item types
Create a new type
To create a new type, click on at the bottom right of the page.
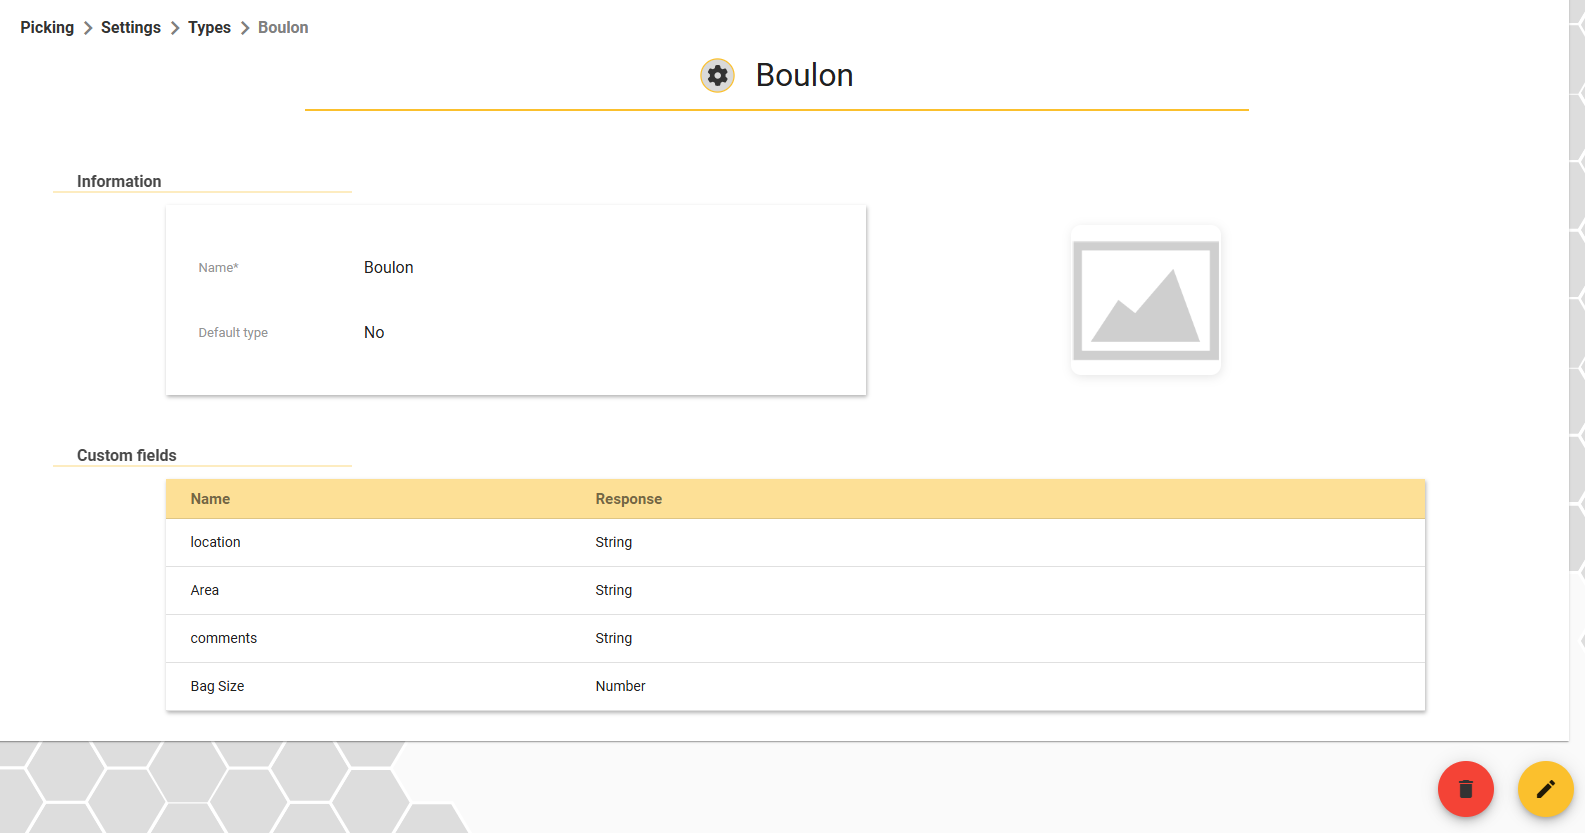
Define the name of this new type and associate configurable fields with it. When you create an item, you fill in the configurable fields associated with the item type.
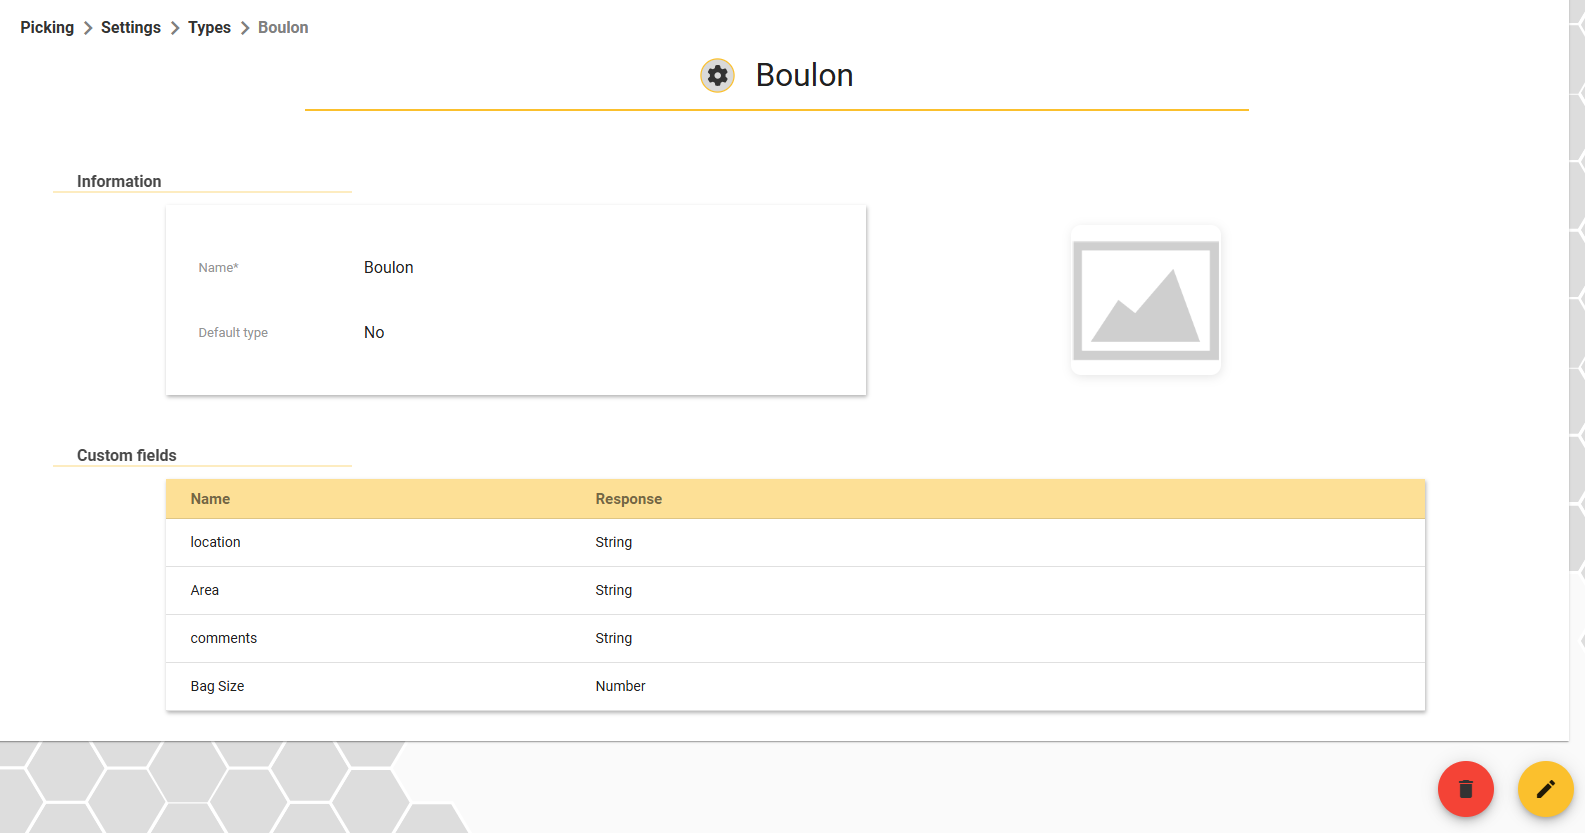
You can also define this new article type as the default article type and add an illustration.
Finally, you can define a regular expression to be used for the name of items of this type. (e.g. Bolt XXX) Help with writing the REGEX regular expression is available directly from SIGSCAN (or on request from the IA).
Change a type
To modify an item type, select the type, click on at the bottom right of your screen.
All fields can be modified, and you can also delete the type using the red recycle bin.
Warning if you import your items, remember to also change the name of the item type in your import file, otherwise duplicate items may be created.
Custom fields
Custom fields are the additional information for an object that you associate with your material types. You fill in the custom fields when you create an item.
Create a new custom field
Click on the at the bottom right of the page.
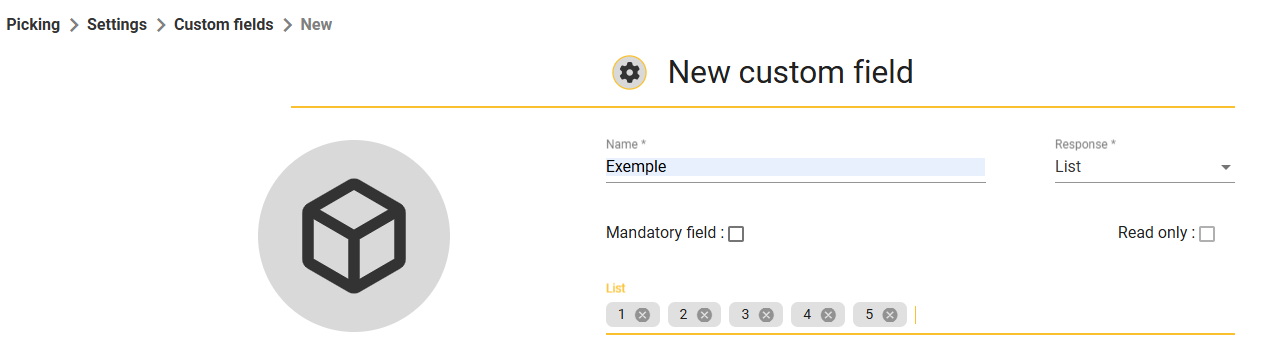
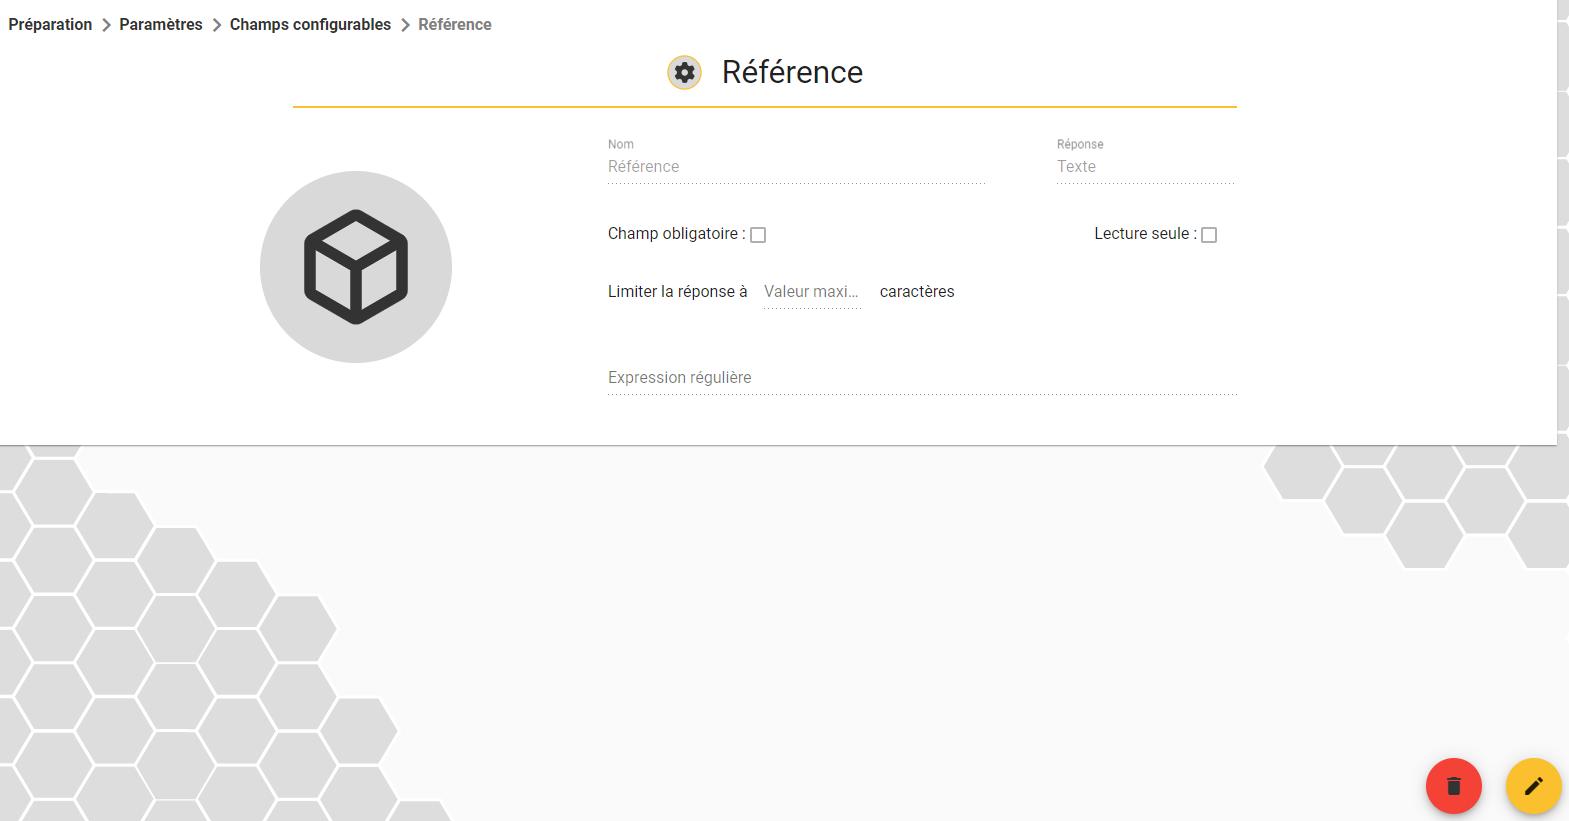
Enter a name to describe the information required, then choose the type of response required (Boolean, Number, Text, Date, List, Duration).
You can also define whether or not this field is mandatory.
You can set fields to read-only to prevent modification after they have been created.
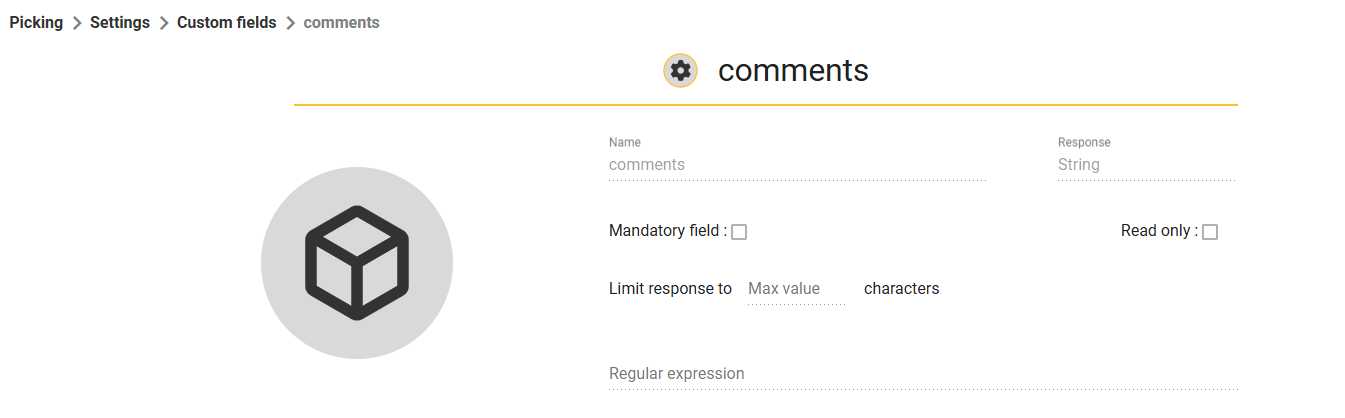
When you select the type of response, you may be asked for additional information (character limit, maximum length, regular expression, etc.) e.g. if you select List as the response, you need to define the items in the list.
Then confirm at bottom right  .
.
2 configurable fields are created by default in the Preparation module:
Location: Used to indicate the location of an item. The name of the field must not be modified; it is used to insert the location of the item on the web and mobile interface.
Comments: Used to provide details about the article. The field name must not be modified, and is used to insert details about the article on the web and mobile interface.
Editing a customisable field
In the list of your custom fields, go to the details of the field you want to modify.
All fields can be modified, and you can also delete a custom field using the red bin.
Setting up mobile devices
Mobile devices are configured by SIGSCAN teams. To check the server URL, consult your administrator.
Printing settings
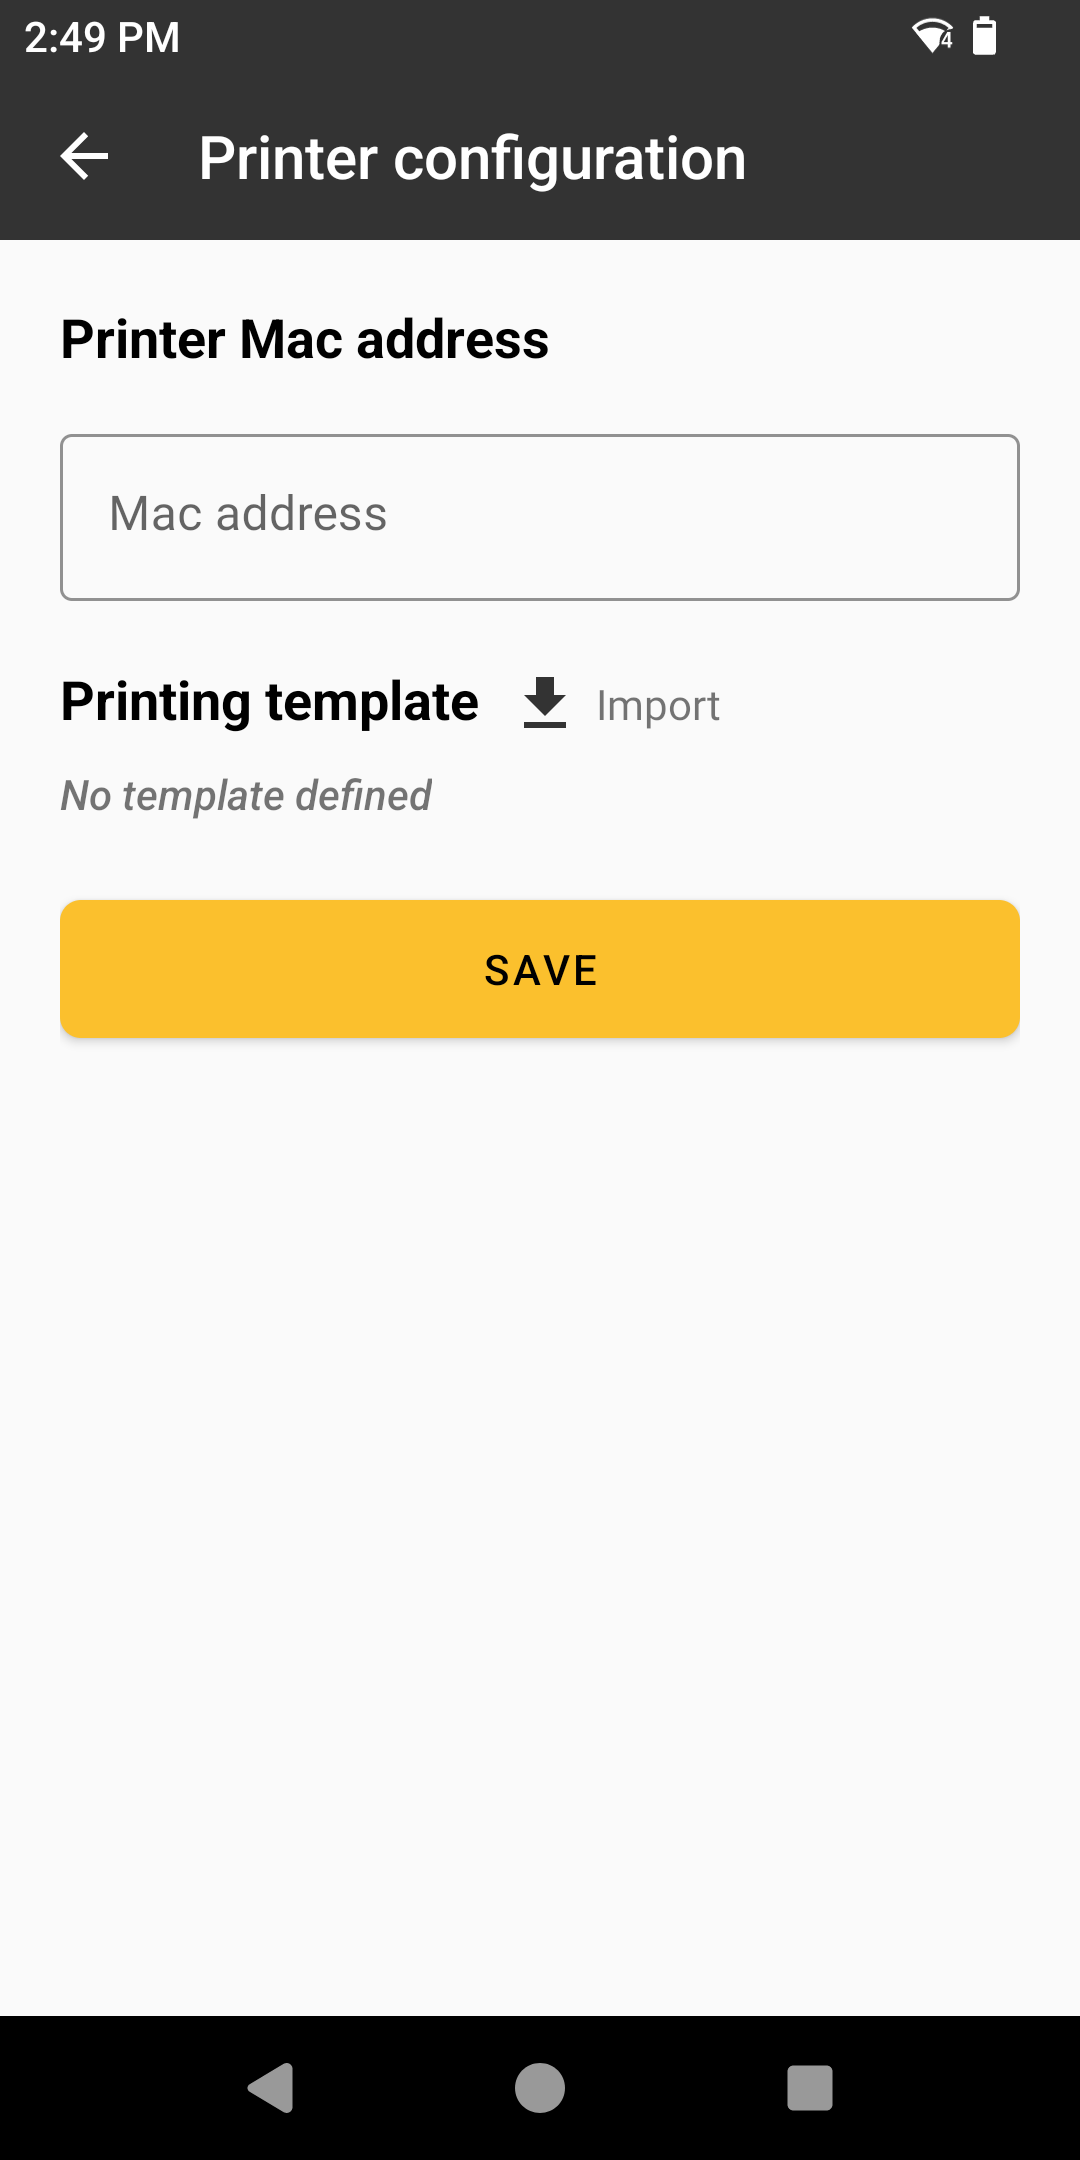
The Preparation module is designed to print labels when preparing your pick lists. To do this, you need to link a printer to Bluetooth and integrate the template for printing your labels.
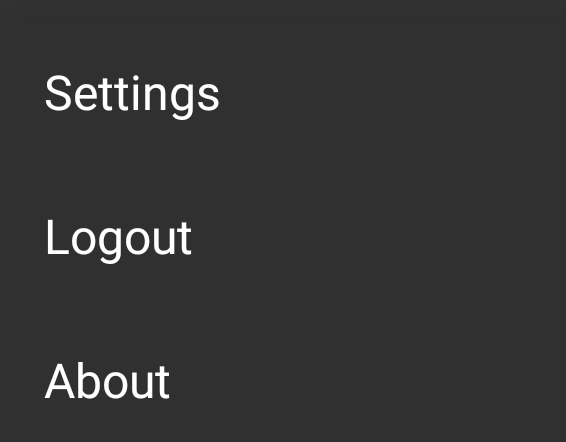
Once in the Preparation module on your mobile device, click on the 3 dots in the top right-hand corner of your screen.
Select Settings.
Click on Printer configuration.
To add a printer, enter its MAC address (make sure that Bluetooth is active on both devices).
To add a print template, click on import a file, the print files are ZPL files created by SIGSCAN or a qualified in-house technician, keep the file in the mobile terminal to make it accessible if the print template is skipped in the application.
Save changes (this configuration applies to all print orders for this mobile terminal only)